08 — Lume
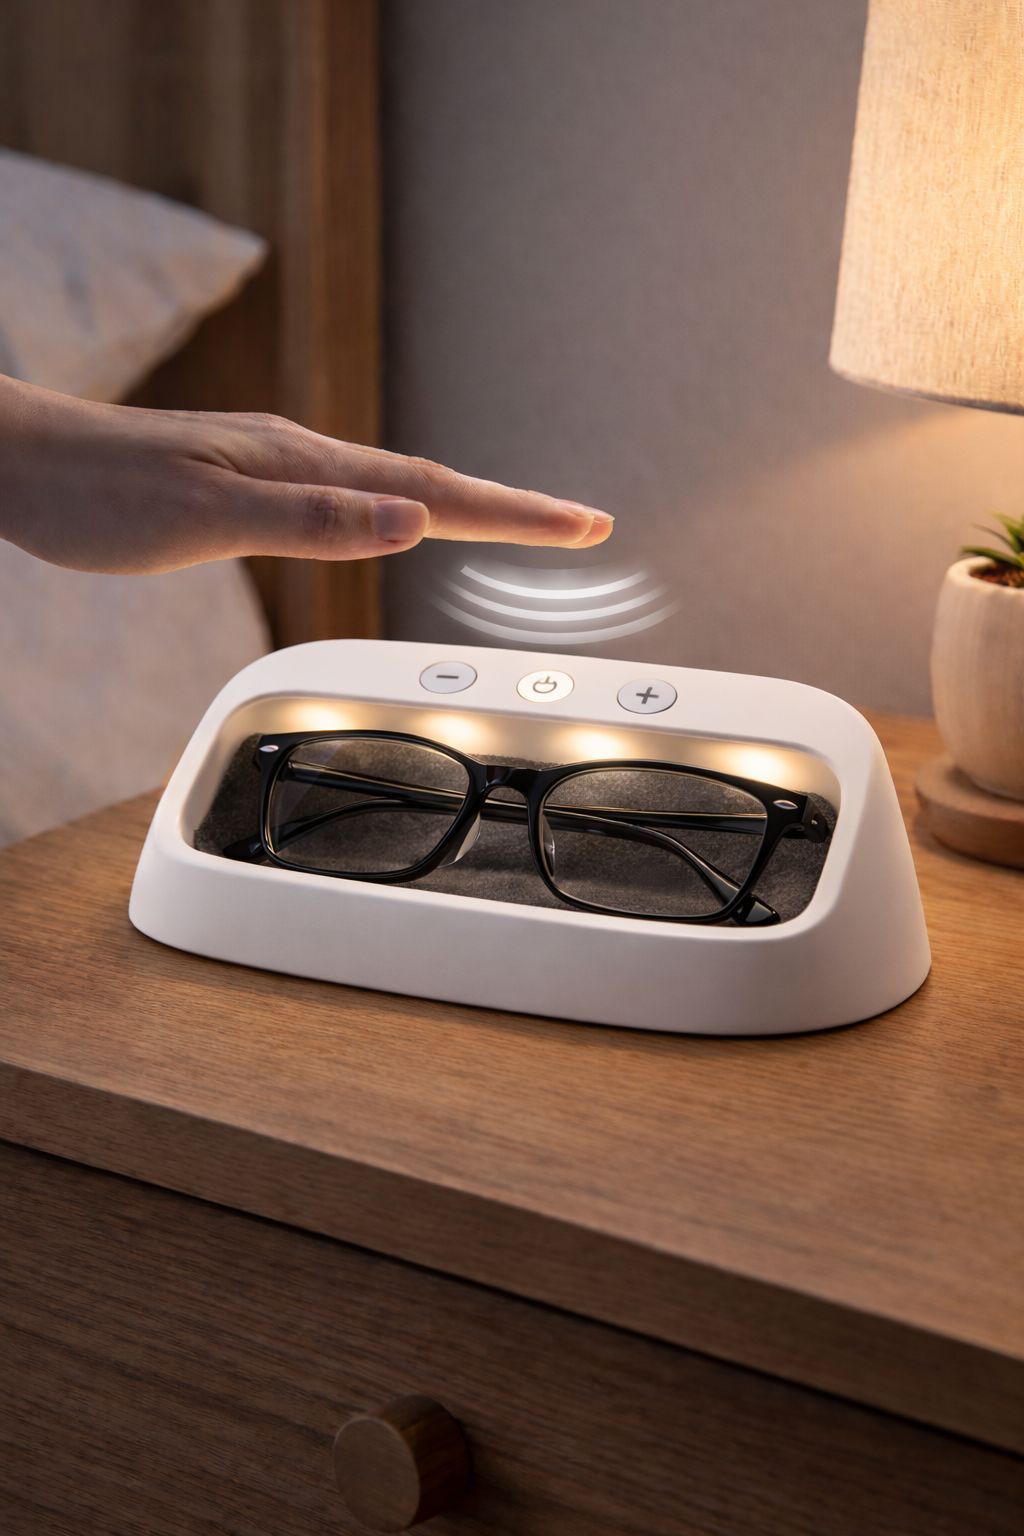
A smart glasses holder
for your bedside table.
Keep your glasses in the same safe place, every time. Built through rapid prototyping, from a cardboard concept to a working product.
Role
Designer & Engineer
Type
Hardware · Software
Features
Gesture · Light · Find
Status
First prototype built
The process
From cardboard to a custom circuit board.
I wanted to bootstrap Lume: gather evidence as quickly and cheaply as possible before committing serious time and money. From cardboard to 3D printing to working electronics.
Cardboard prototype
Making the idea tangible at no cost
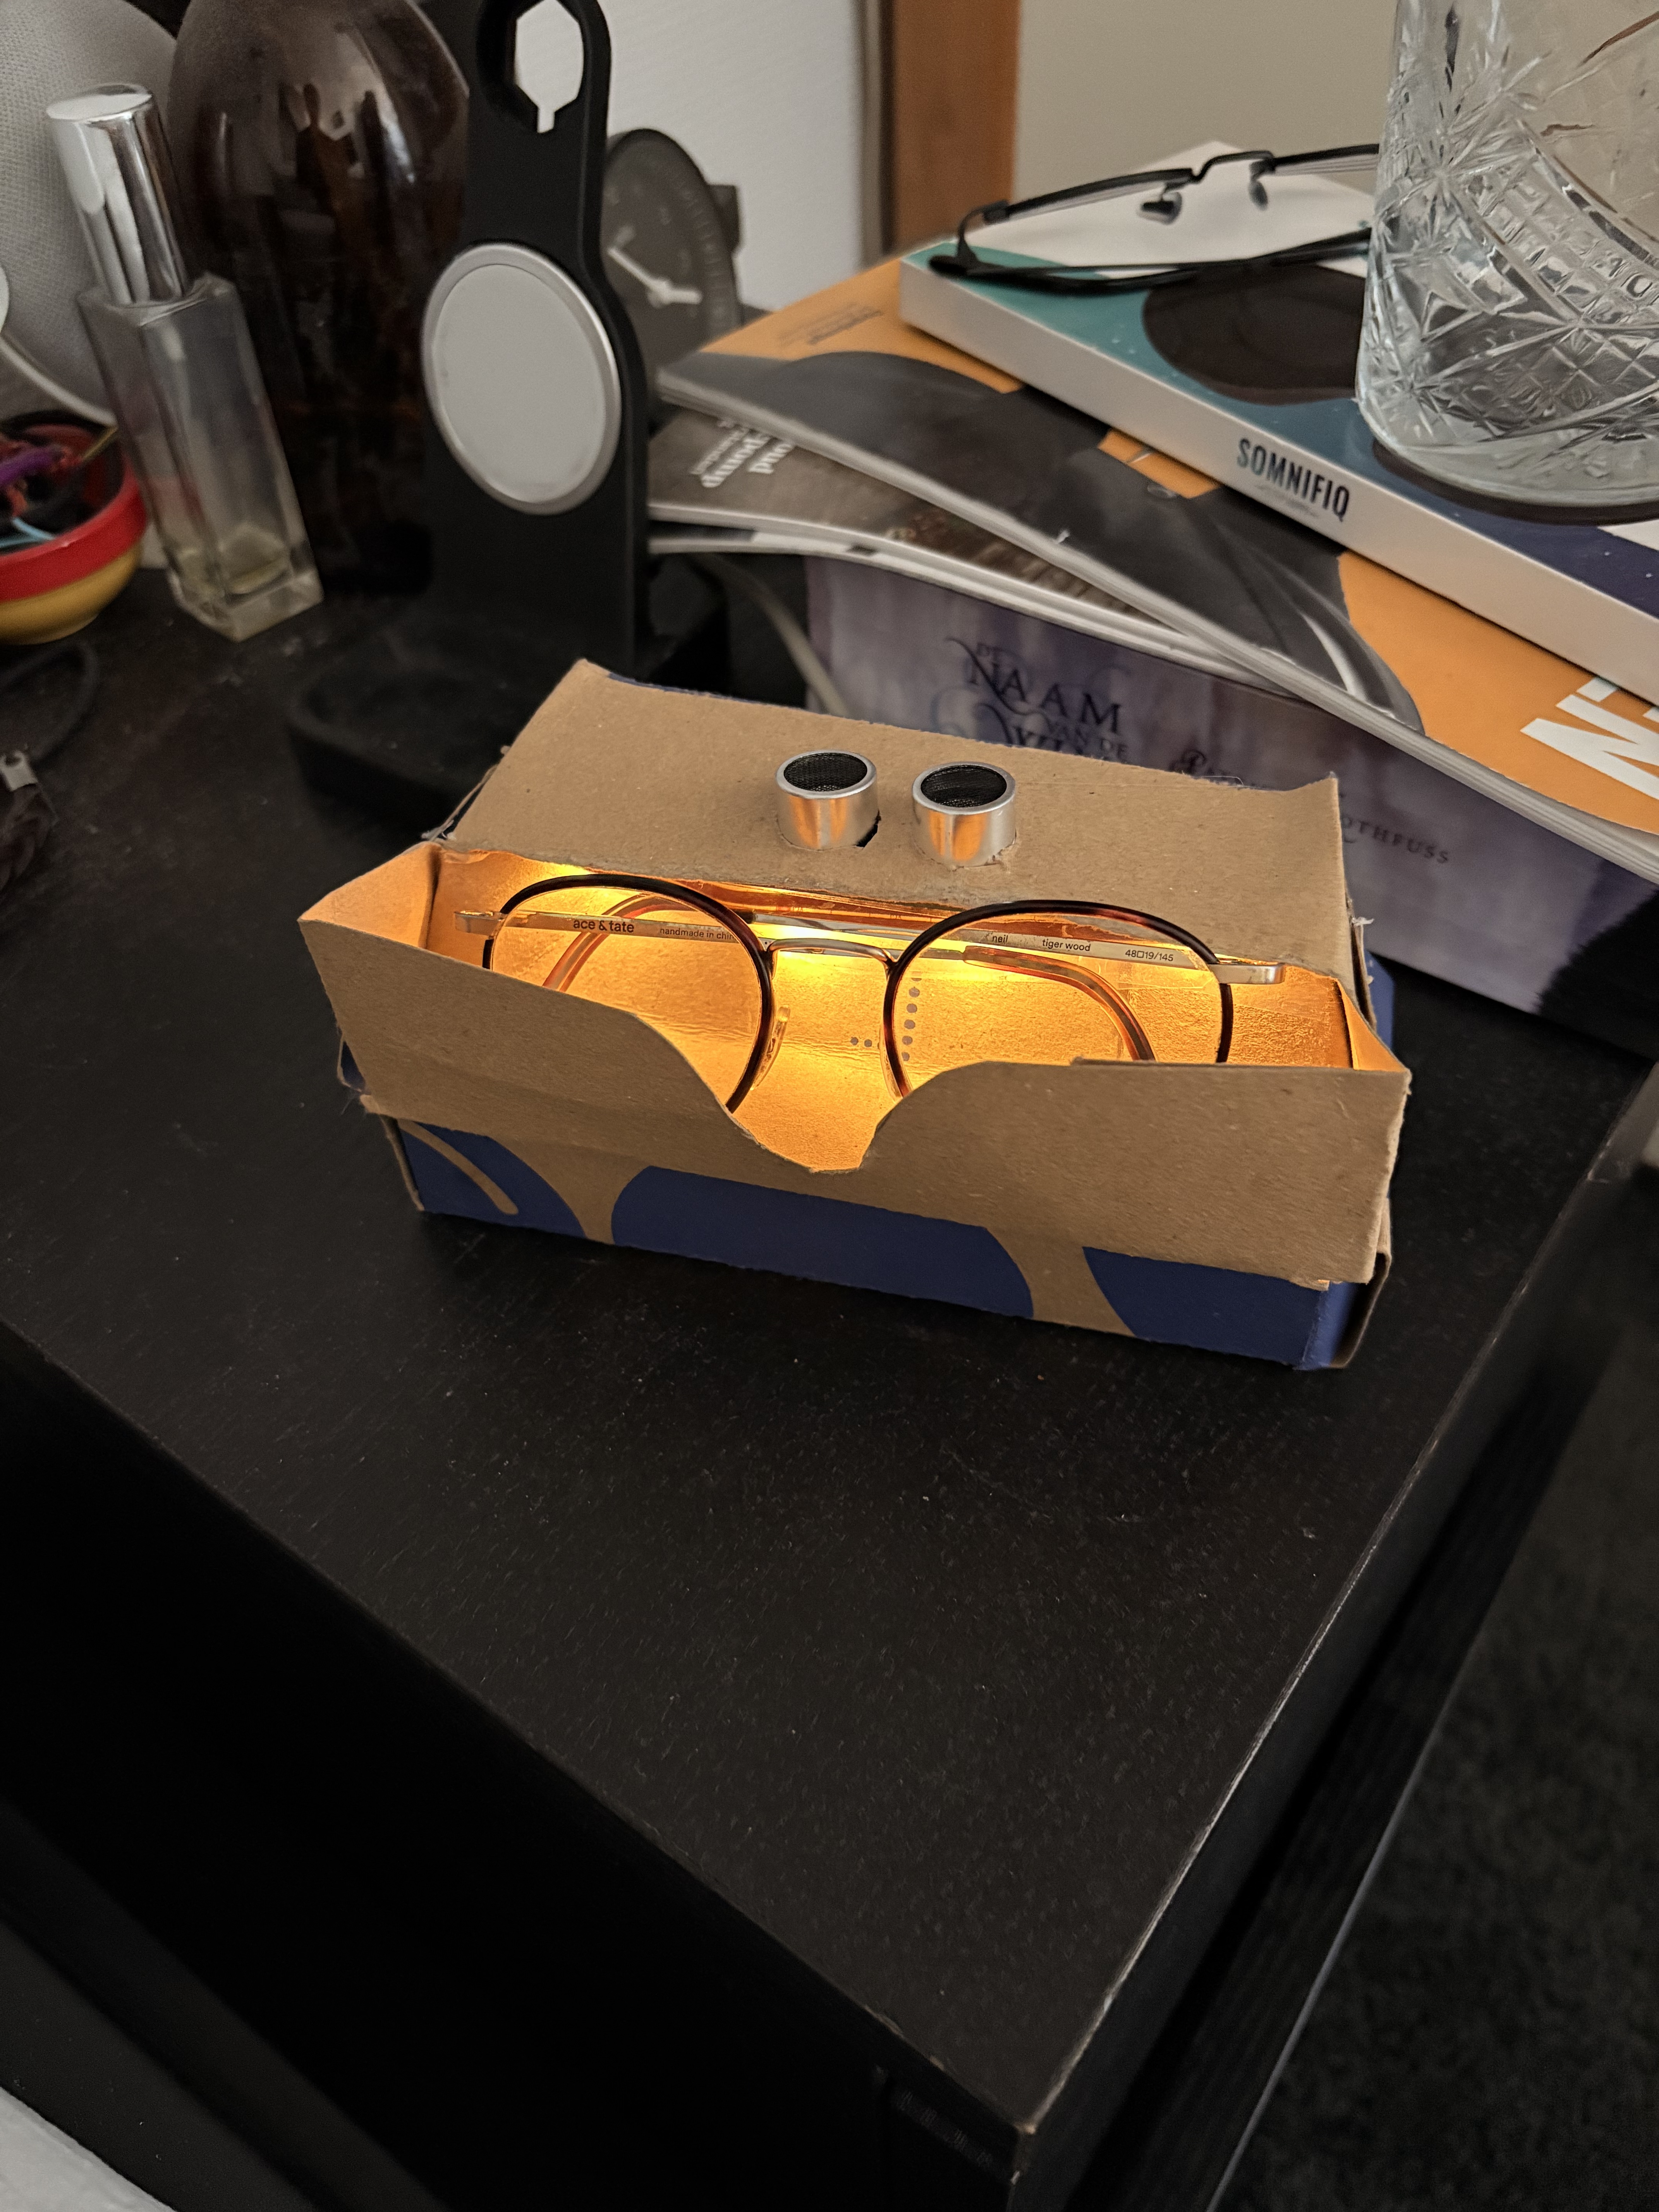
To avoid wasting time and money, I first built the concept in cardboard using electronics I already had. Early tests with real people helped explore the shape, size and interaction on a bedside table.
Validating renders with potential customers
Is there any interest?
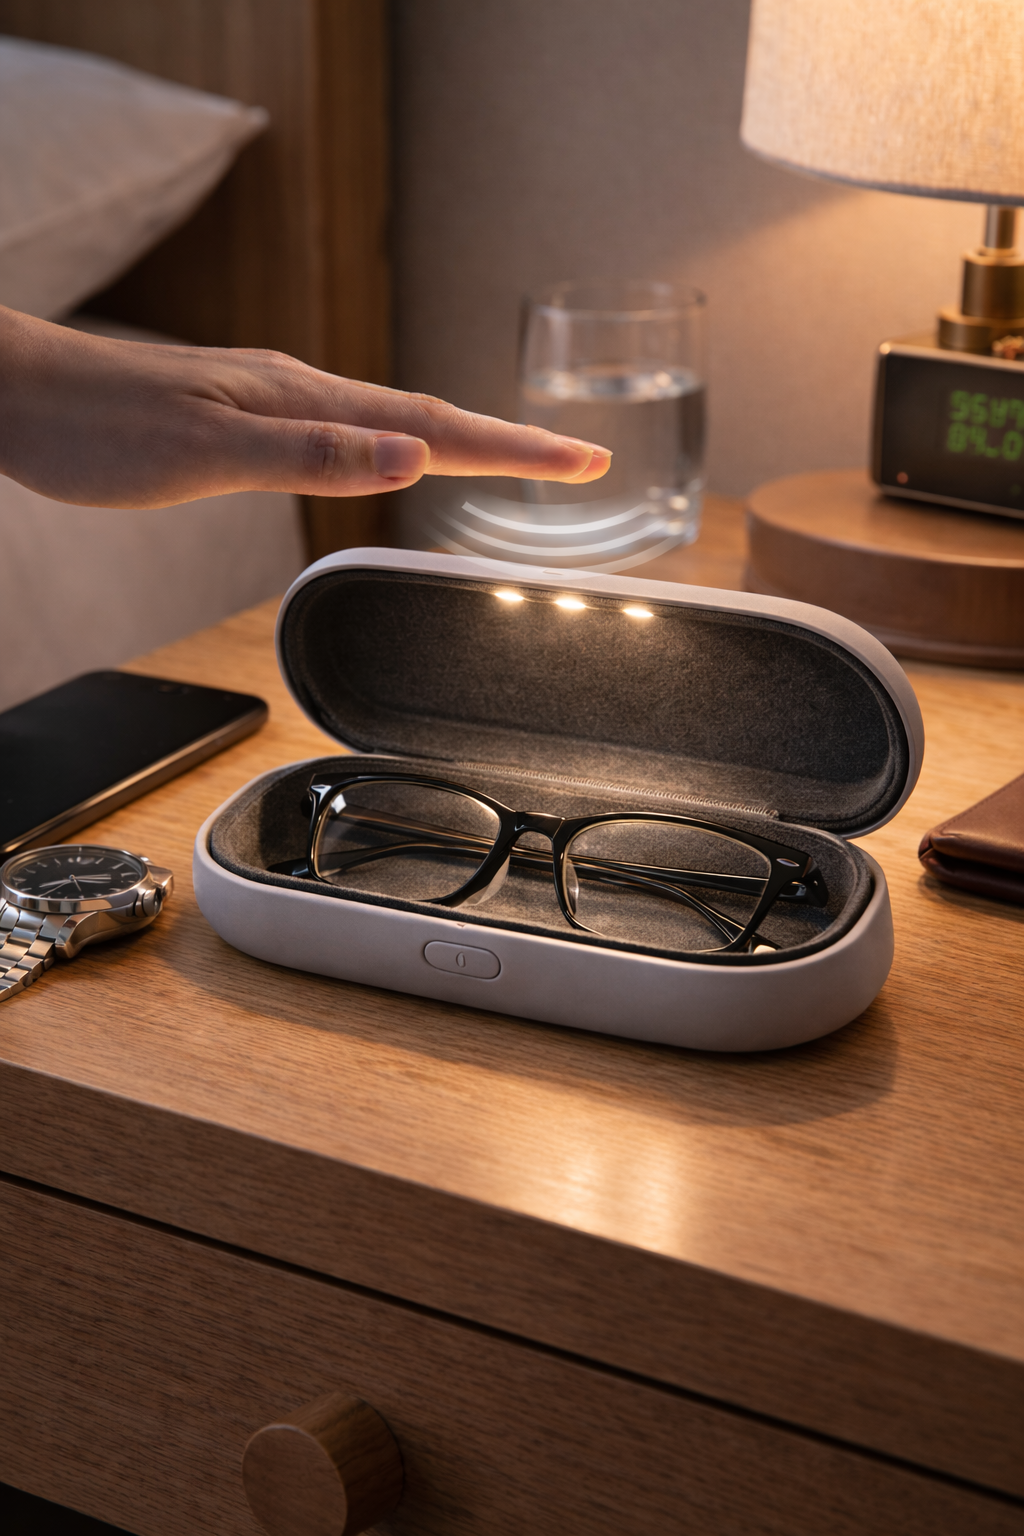
Alongside the cardboard prototype, I created renders and showed them to potential customers. The aim was to gauge interest before building further. The first positive responses gave me the green light to continue.
Refined cardboard prototype on social media
Measuring more enthusiasm
Using feedback from the first round, I made a second cardboard prototype and filmed it for TikTok and Instagram. The responses helped decide whether it was worth building the real thing.
Testing 3D-printed prototypes myself
Better, more functional, and used every day
Once I had evidence of interest, I started making better prototypes with the 3D printer. This made it easy to test different configurations quickly. I put the prototypes on my own bedside table and used them daily, at night and half asleep. They worked well without needing a second thought.
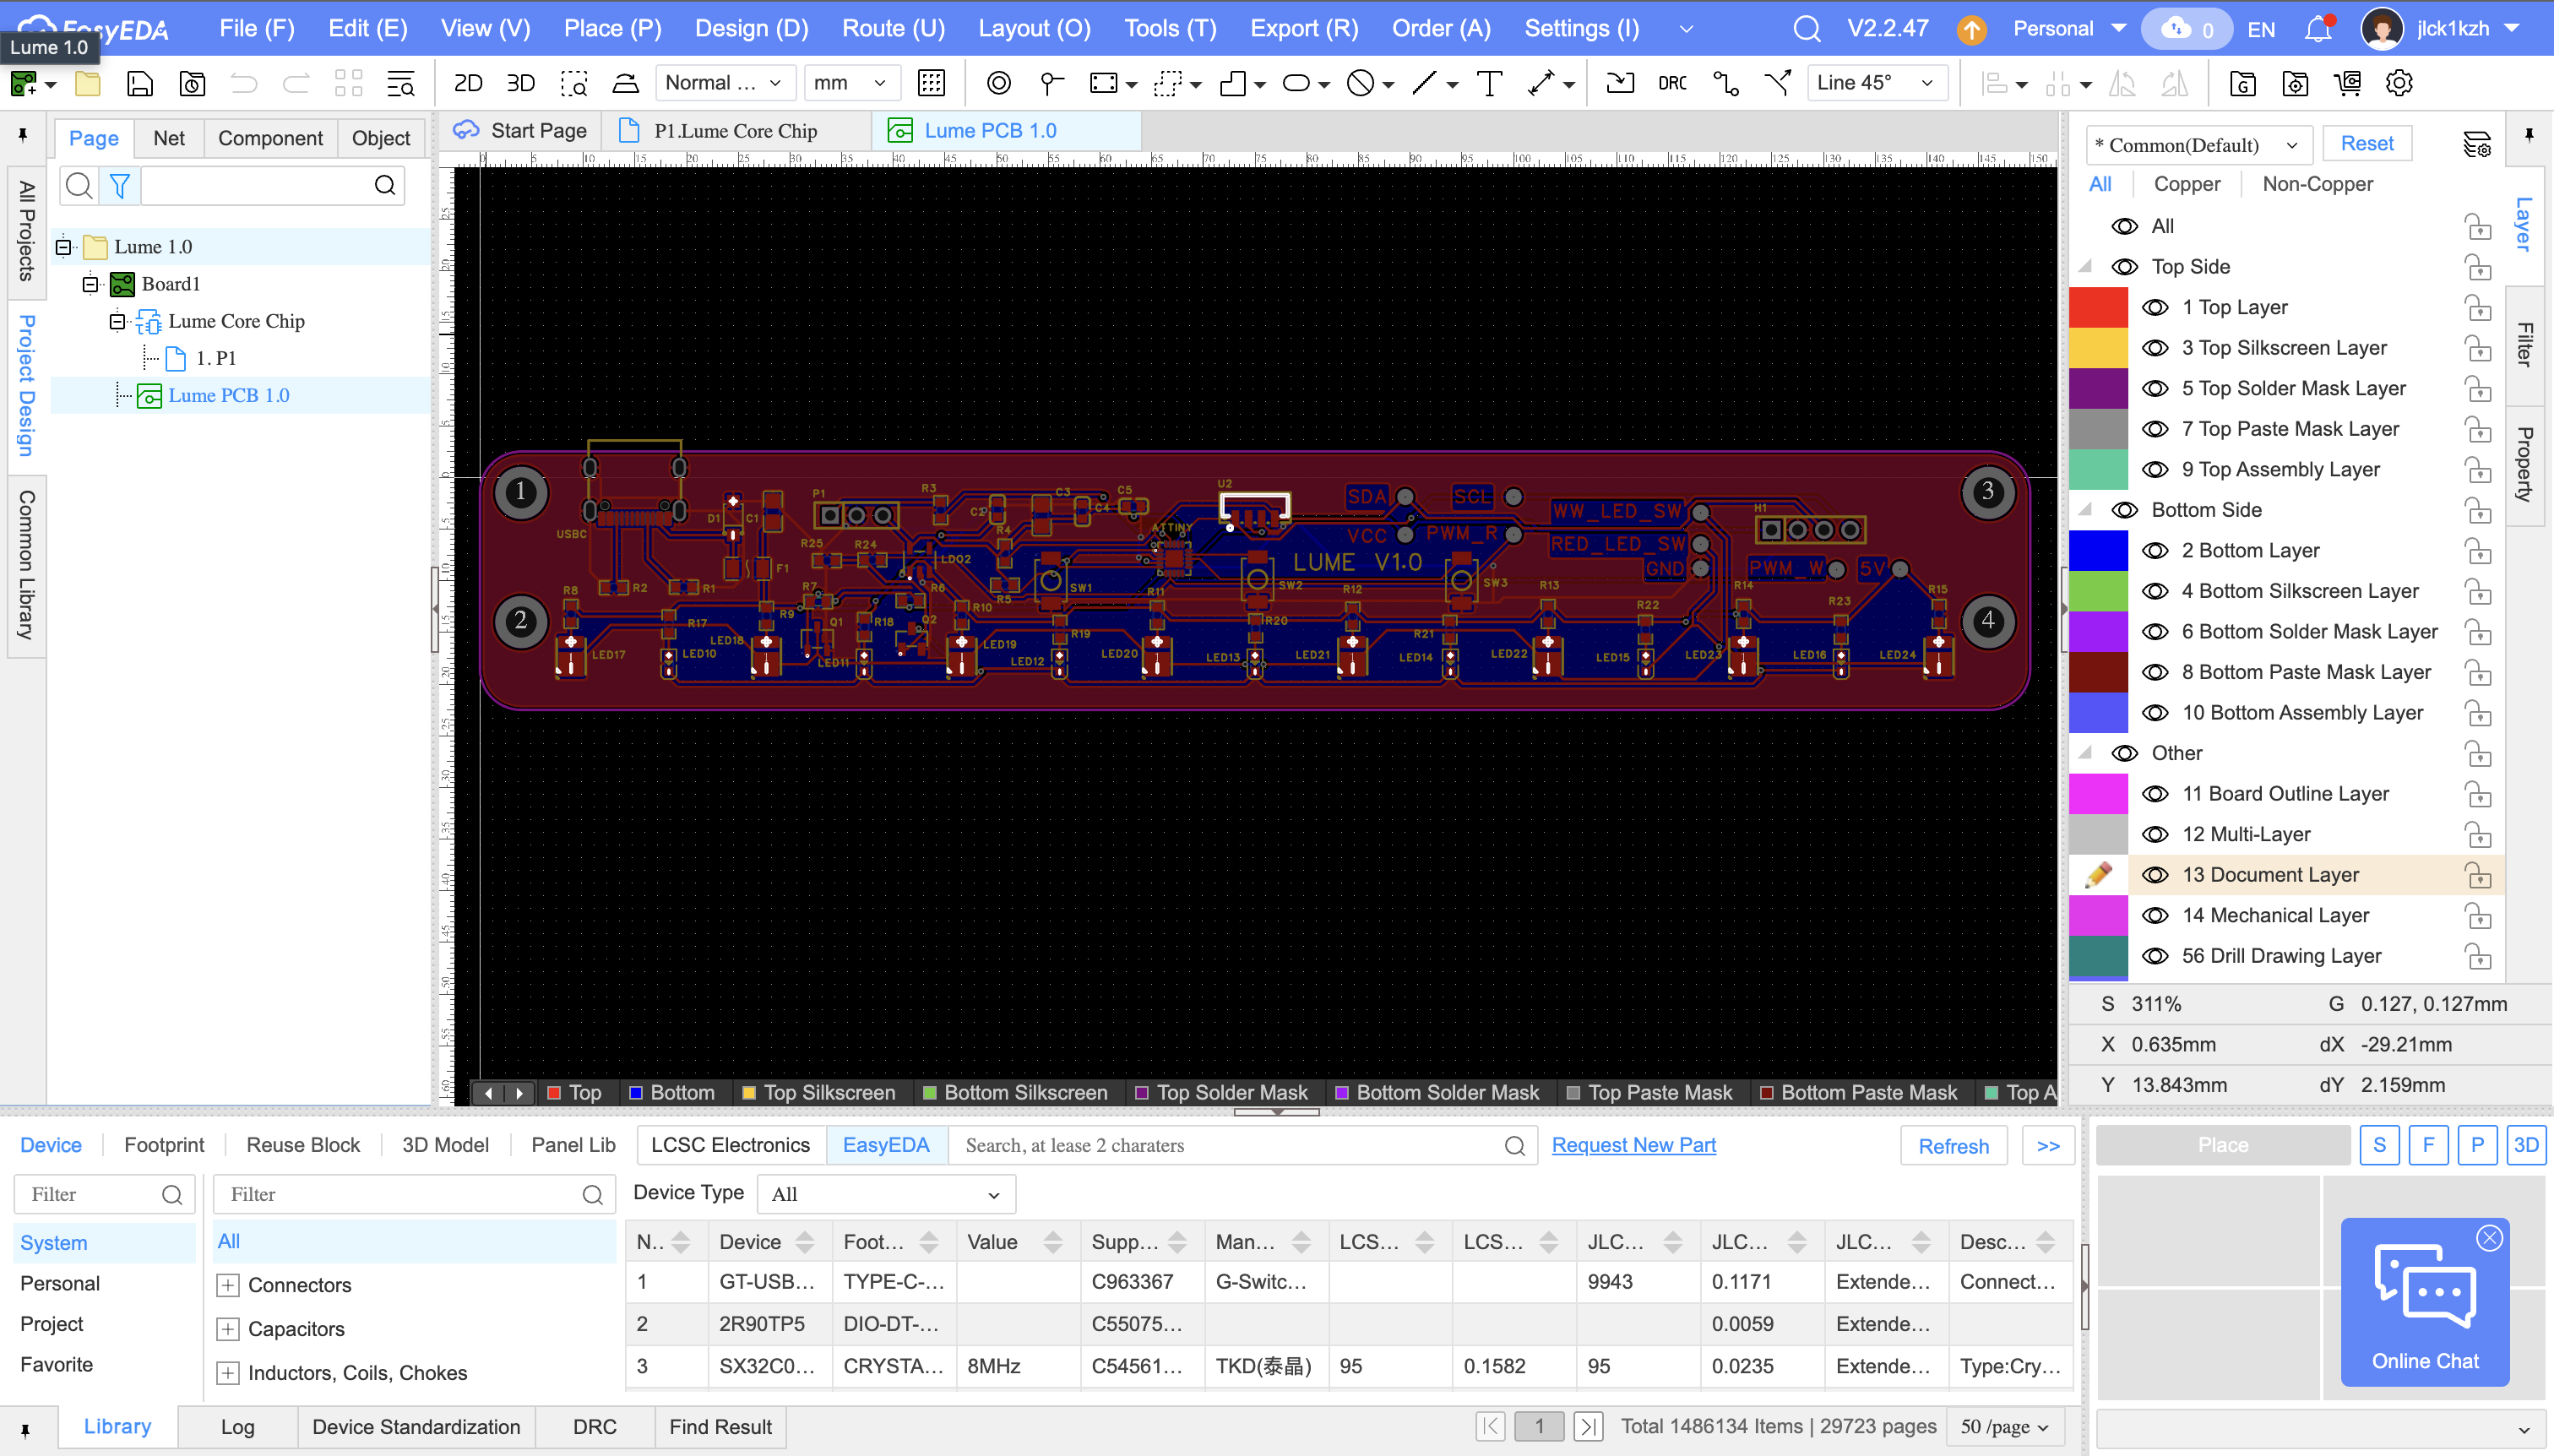
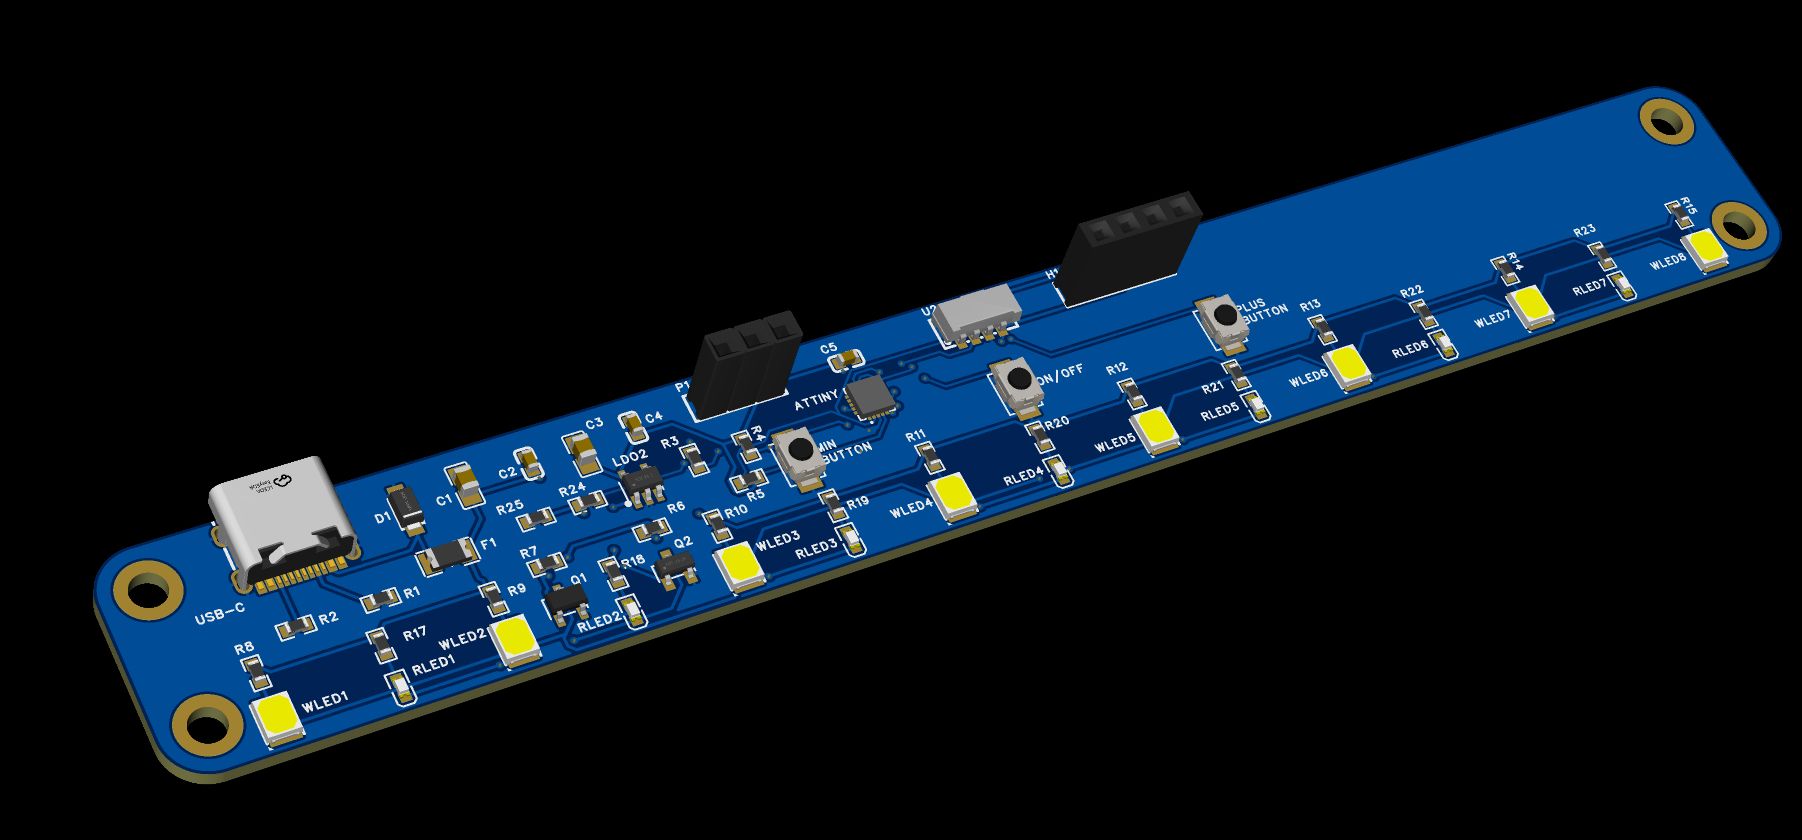
First prototype with working electronics
Learning PCB design from scratch
Based on the evidence so far, I decided to order a fully custom circuit board —
an exciting next step, and I also simply wanted to learn how it works.
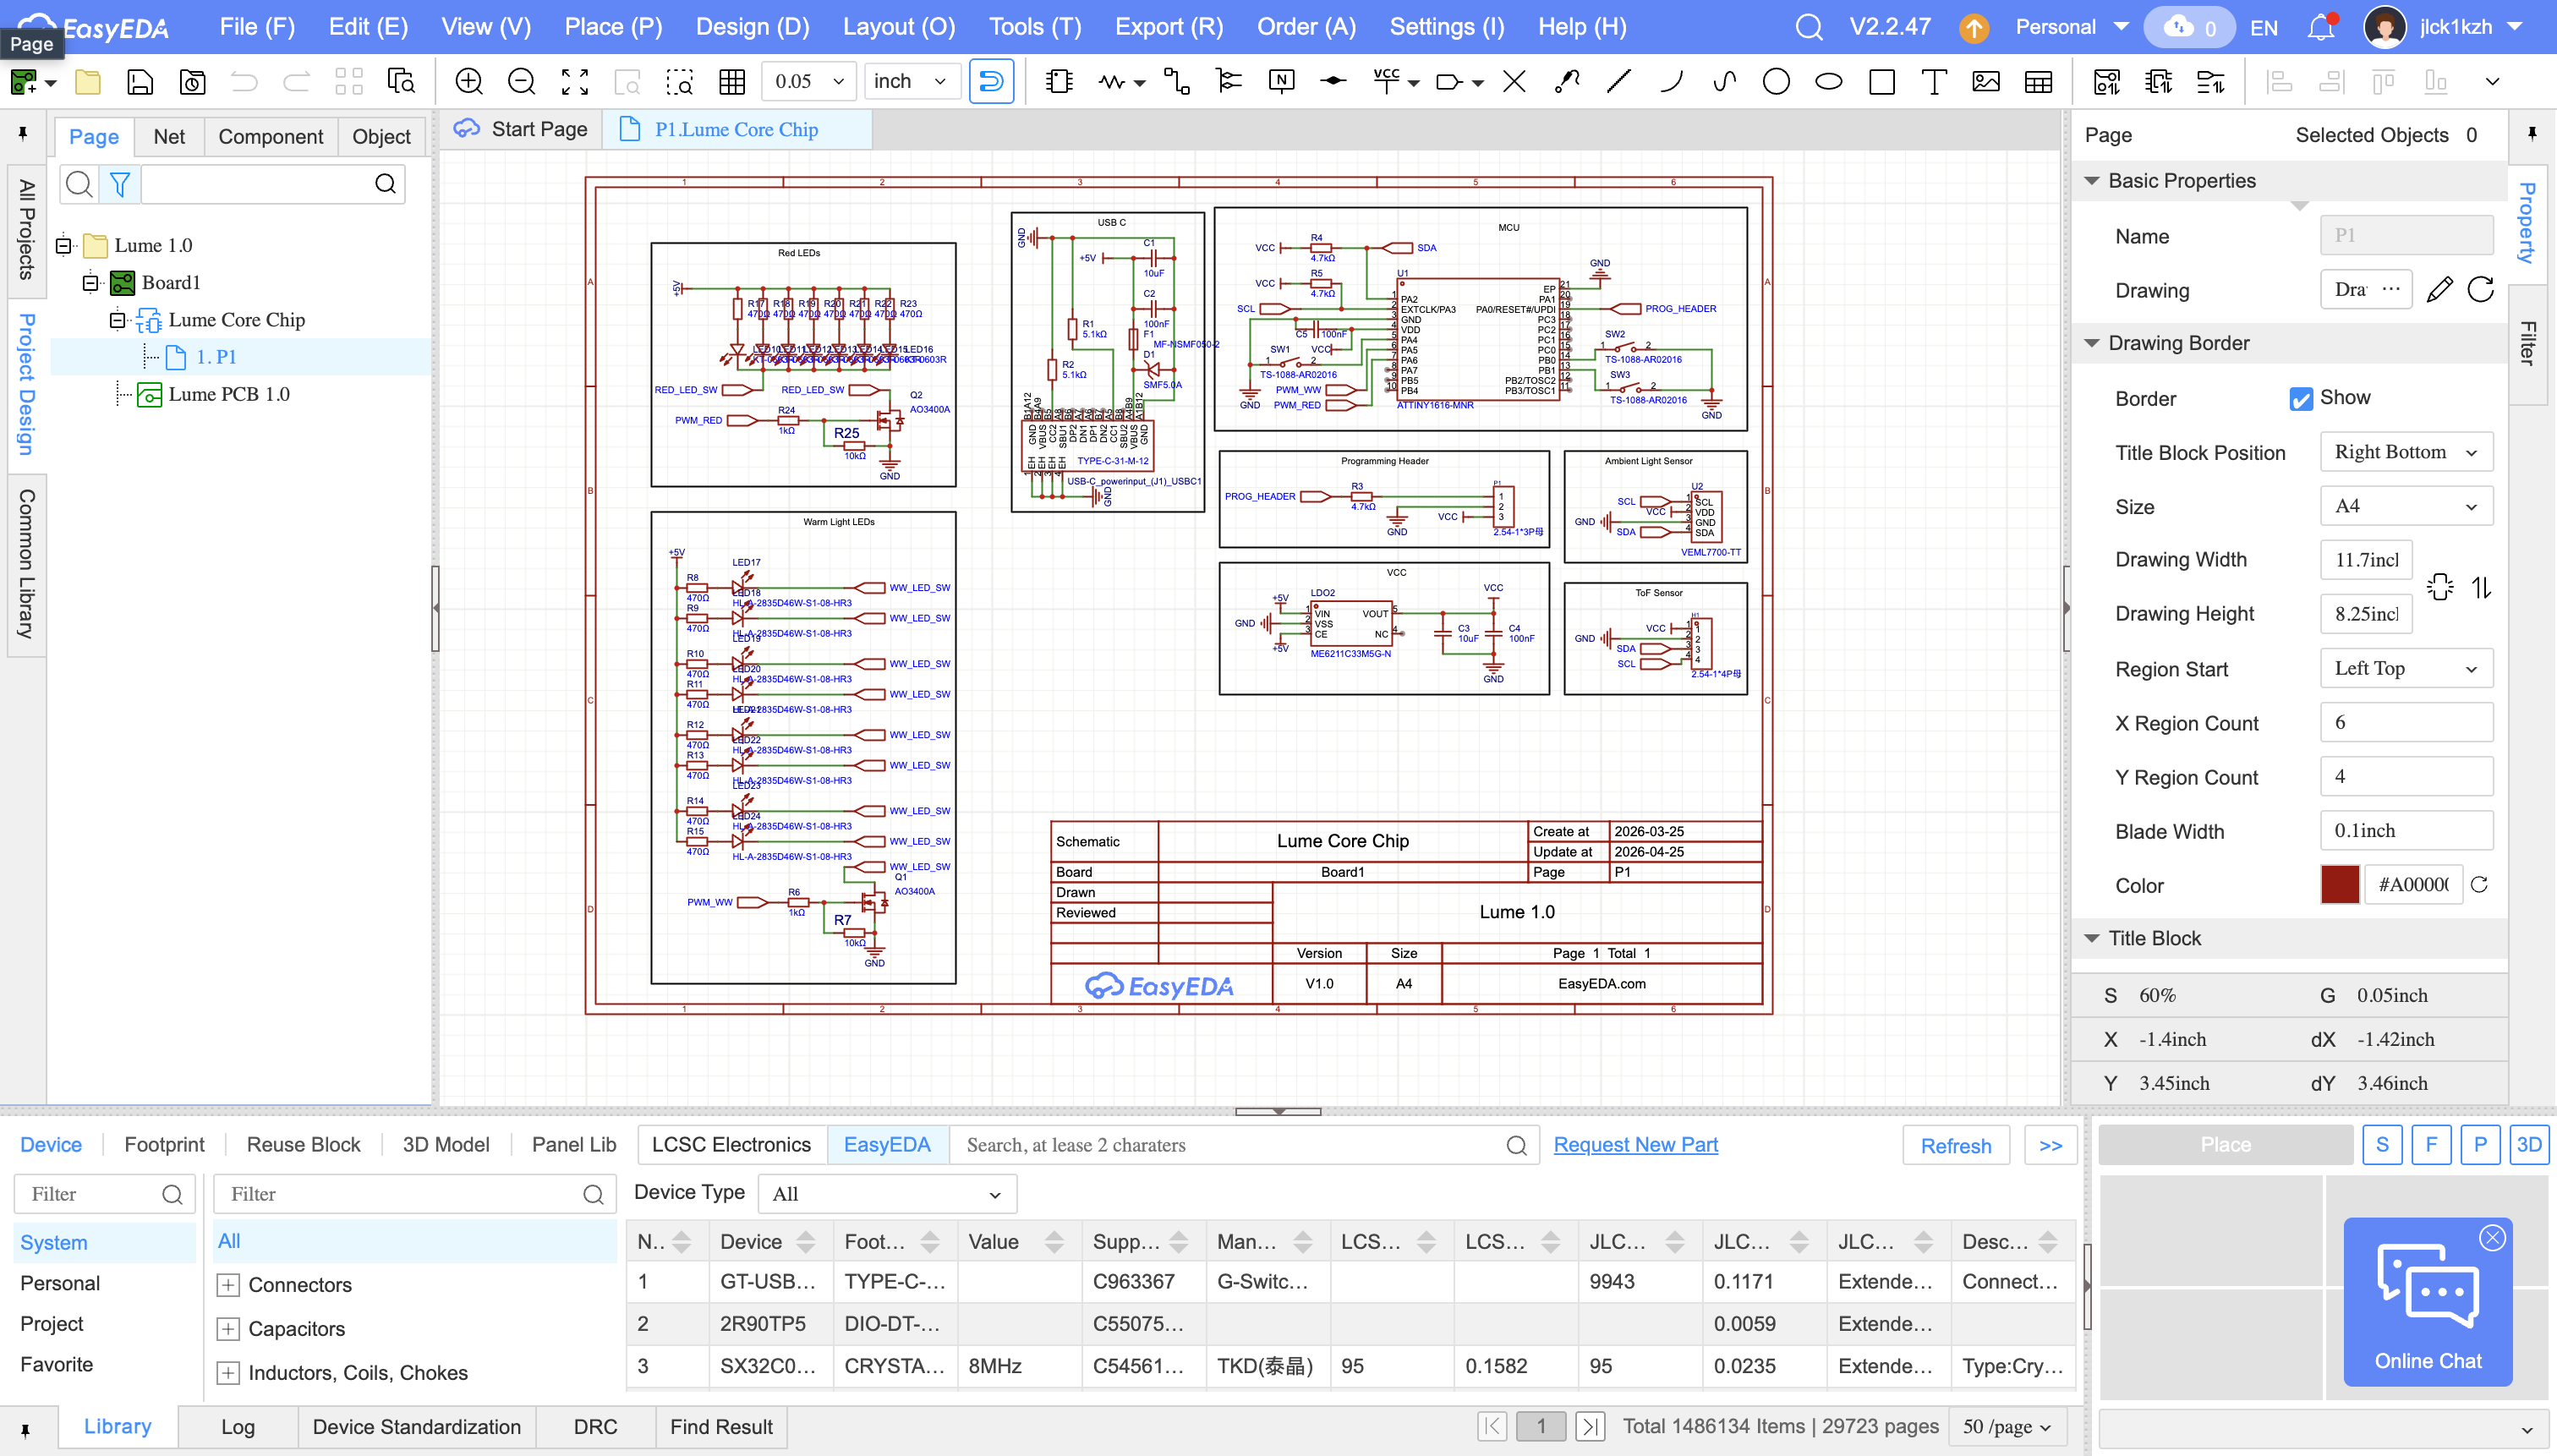
Using EasyEDA and ChatGPT, I drew the circuit and ordered the first custom board.
Testing code on the real hardware
Now: bringing it all together
The electronics have arrived. Now it's time to test code on the actual circuit board and see whether everything works. Do the sensors work? Does the microcontroller drive the system as expected? More to come!